Use the Detail Lines field when you want to capture/list one or more lines of detail on a form. For example, on a Sales Invoice form the form captures the sales invoice header information and uses a detail lines field to capture the invoice details, one line per item sold.
The Detail Lines field can hold any number of detail lines. During data entry lines can be added, edited and voided.
The field can be configured to show lines with alternating cosmetic attributes such as shading.
A master form can contain more than one detail lines field.
Each detail line in a detail lines field is a form itself. You design a prototype detail line which is then automatically copied each time a detail line is added during data entry. Since the detail line is a form it can be any style from a single row of fields to multiple rows of fields and include images and stapled fields.
Accounting Posting
When a transaction data form is filed each detail line is notified with the form event Setup G/L Postings. Thus each detail line can produce postings to the general ledger account.
Integrated Columns Header
The Detail Lines field has an integrated columns header. The header is a text block and can hold most fields types. Typically you use description fields for column titles and perhaps quantity fields for column totals.
Single Data Form
The detail lines are part of the master form. They are not saved separate from the master form. If you have any knowledge about relational databases this will seem very unusual.
In relational databases the header information and details are saved in different tables in the database. Furthermore, each detail line is written as a single record to the details table. To view a sales invoice, for example, the correct records from the header table and from the details table have to be retrieved, combined and shown together. This means numerous database reads and relies on maintaining matching keys in the header and detail records. The same with saving the sales invoice data. However, because numerous records need to be saved to the detail table there is a risk of the sales invoice being partially saved if anything were to go wrong – a loss of data integrity.
In Formever, the sales invoice data form contains the header and the details. It can be saved in a single write and retrieved with a single read. And with writing either the entire data form was saved or it was not saved. There is no partial save. Data integrity is always maintained.
Creating a Detail Lines Field
Drag a Detail Lines field template from the column of field templates on the right of the form layout area. Drop the template on the layout area. Then click on the new field to open the field designer.
Drag Detail Lines Field Template to Form Layout Area
Detail Lines Field Designer
Open the detail lines field designer by clicking on a detail lines field in the layout area. Close the designer by clicking on the background of the open field designer.
The Detail Lines field has two components:
The Detail Lines field has a label but it is not visible. The field has a label for access purposes within Formever (definitions) but the label cannot be shown on the master form.
The input component of the Detail Lines field is a list consisting of lines. The detail lines are identical and based upon a prototype detail line.
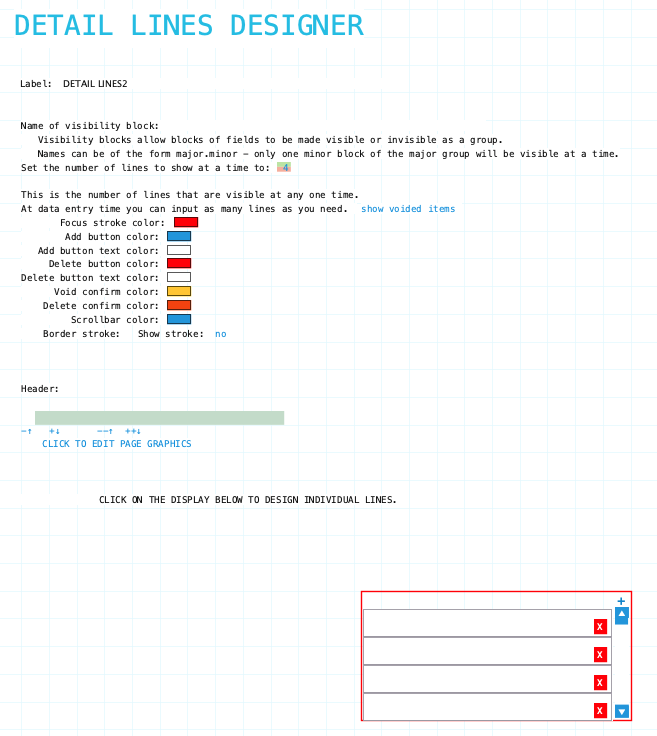
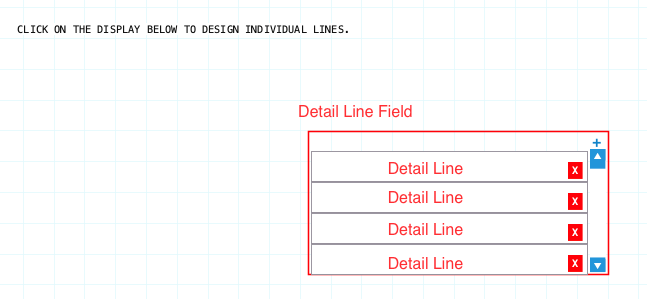
A display of the detail lines field is shown at the bottom of the designer form. After you design the actual detail line prototype the sample will reflect what you have created. Click on the display to open the designer for the detail line prototype.
The designer for the detail line prototype is nearly identical to a form designer. That is because the detail lines are forms in their own right. Detail lines:
- are only found in their master form
- are not an entity form
- are not a transaction form
- can not contain a detail lines field
Detail lines can perform calculations such as extending their total amount. It has the same set of back-of-form definition and procedure capabilities as a master form. These are found in a separate section on the back of the master form containing the detail lines field.
The detail lines field is addressable and through that you can get a form stack of the detail lines and process them like any other form stack. This enables you to do things such as calculate the total for all purchase detail lines, count detail lines, find averages, sort, filter.
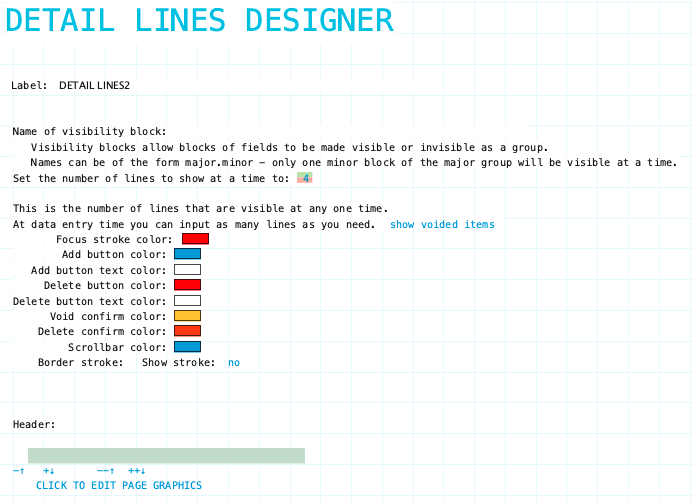
Label: Name of the detail lines field. Provide a meaningful name even though the label is not displayed on the form. It is very likely that procedures or reports will refer to the field. The field label is permanently hidden. To edit the label click on the text.
Name of visibility block: If the field needs to be visible or hidden or along with other fields on the form provide a name of a visibility block. See Visibility Blocks for details.
Resizing Detail Lines Field
The size of the Detail Lines field is determined by the size of the sub-form detail line, how many detail lines are shown in the field and the header of the detail lines field. It will become apparent when you view the master form designer. Adjust the size of the master form to accommodate the detail lines field and all other fields on the form.
Number of lines to show at a time: This specifies how many detail lines are to be shown in the field. A detail lines field may have many lines but not all can be shown in the detail lines field. If there are too many then the lines can be scrolled.
Show voided items: This controls whether voided lines in the detail lines field should be shown or not. Choices: Show Voided Items/Set Visibility Voided Items
Header: This is the text block in which the header for the detail lines can be designed. It is the same as other textblocks. Fields and text can be laid out in the textblock.
Color Settings
Focus Stroke Color: Set the color of the outline around the detail line that has keyboard focus.
Add Button Color: Set the color of the button for adding a detail line.
Add Button Text Color: Set the color of the text on the add button.
Delete Button Color: Set the color of the button for deleting a detail line.
Delete Button Text Color: Set the color of the text on the delete button.
Void Confirm Color: Set the color of the void confirmation button that appears when deleting detail line on a previously filed data form.
Delete Confirm Color: Set the color of the delete confirmation button that appears when deleting detail line on a new data form that hasn’t yet been filed.
Scrollbar Color: Set the color of the scrollbar that appears on the right side of the detail lines field when there are more lines than can be shown.
Border Stork Color: Set the color of the void confirmation button that appears when deleting detail line on a previously filed data form.
Label Component
Detail Lines field has a non-standard field label. The label is not visible on the form. Change the field label by clicking on the text beside ‘Label:’.
Input Component
The actual input component of the detail lines field are the individual detail lines. Each line is a form defined by the prototype detail line form. The prototype detail line designer is nearly identical to the master form designer – it lacks a detail lines field template.
Click on the detail lines display in the field designer to open the designer for the prototype detail line form. Close the designer by clicking on the background of the designer.
Accessing the Prototype Detail Line Designer
In the same manner of designing a master form drag and drop field templates in the prototype form layout area. Resize the layout area to accommodate the fields.
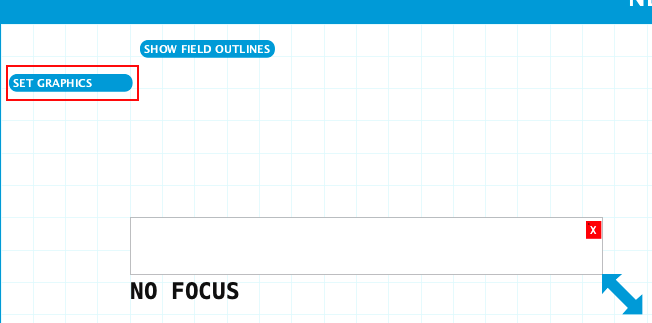
The little red box with ‘X’ is a delete button for the prototype detail line. During data entry, each detail line added to the detail lines field will have this button. Use it to void a detail line.
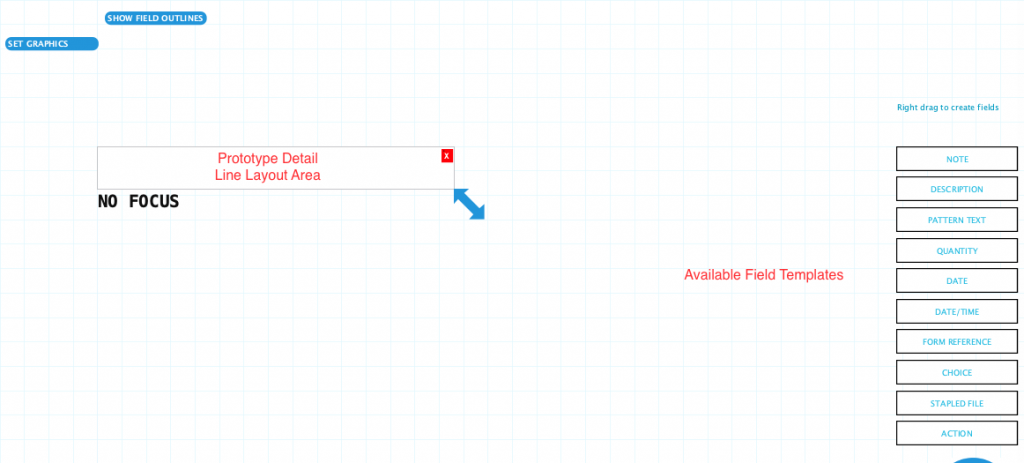
Prototype Detail Line Graphics
Graphics can be applied to the prototype detail line. This includes images, lines/rectangles/circles, alternate line shading. Click the ‘Set Graphics’ button to switch to the graphics designer
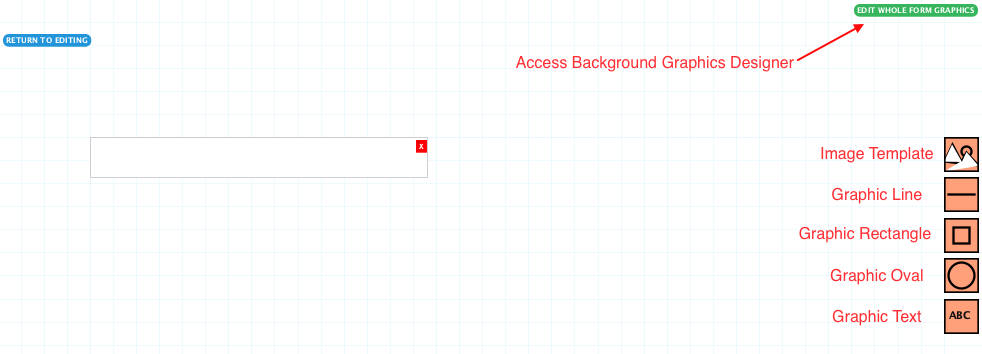
Drag and drop the graphic elements form the right side of the designer onto the layout area.
To apply alternate line shading, background file, boundary stroke. Click the ‘Edit Whole Form Graphic’ button to switch to the background graphics designer
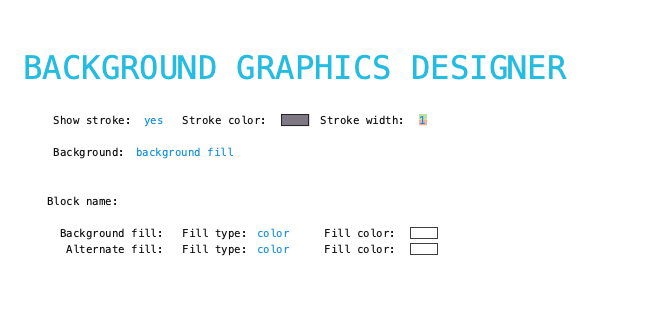
Show stroke: Click yes/no to show the border of the around the form, set the stroke color using the color chooser. Adjust outline stroke width by clicking the green portion of the digit to increase and the red portion to decrease the line width.
Background Fill: Specify fill type for the form: color, vertical gradient, horizontal gradient, circular gradient. Fill color can be a single color or start and end colors for the gradients.
Name of visibility block: If the field needs to be visible or hidden or along with other fields on the form provide a name of a visibility block. See Visibility Blocks for details.
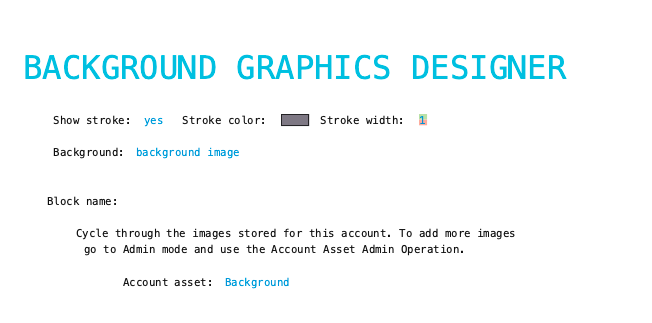
Alternate Fill: By specifying an alternate fill then every other detail line in the field will have the alternate fill applied. Specify fill type for the form: color, vertical gradient, horizontal gradient, circular gradient. Fill color can be a single color or start and end colors for the gradients.
The background fill of fields in detail lines defaults to white and this look wrong on the alternate line fill. Set the fields background fill to be RGB Alpha 0, (transparent) to allow the detail line fill to show through.
If any non-data entry fields are included you need to clear their Focus/No Focus fills also, otherwise they’ll show when editing the data form.
Header Component
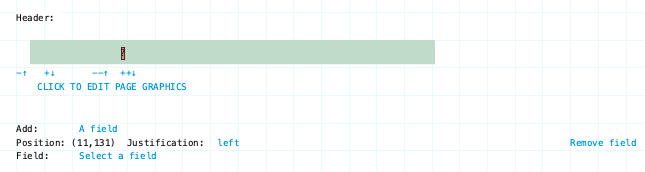
The header content description text block can hold text fields or form fields. Click in the text block to insert an initial field place holder. With ‘Add: A field’ click on ‘Select a field’. The field chooser will be shown. Navigate with the chooser to find the field you want. Click on the field to place it in the text block.
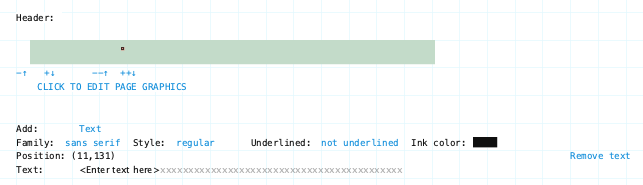
You can place text in the text block also. Click in the text block to insert an initial place holder. Then click ‘A field‘ to switch to ‘Text‘ as shown above. In the ‘Text:’ field enter the text you want.
Family/Style/Underline Ink Color: Font attributes of the content description text.
Click to Edit Page Graphics: Use this to add graphic elements (lines, shapes, fill, images) to the background of the Content Description area.