The master form designer is where you specify everything about a master form. The form designer is used for creating new master forms and for editing existing master forms.
There are two sides to a master form.
Front side specifies the content, organization and appearance of the form
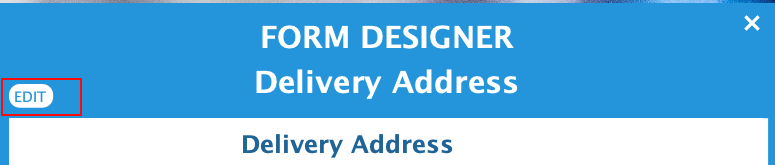
Open the master form designer by clicking on a master form in the Master Forms selection list. This opens the designer in view mode. To edit the master form click the Edit button on the open master form.
Master Form Designer Open in View Mode With a Master Form
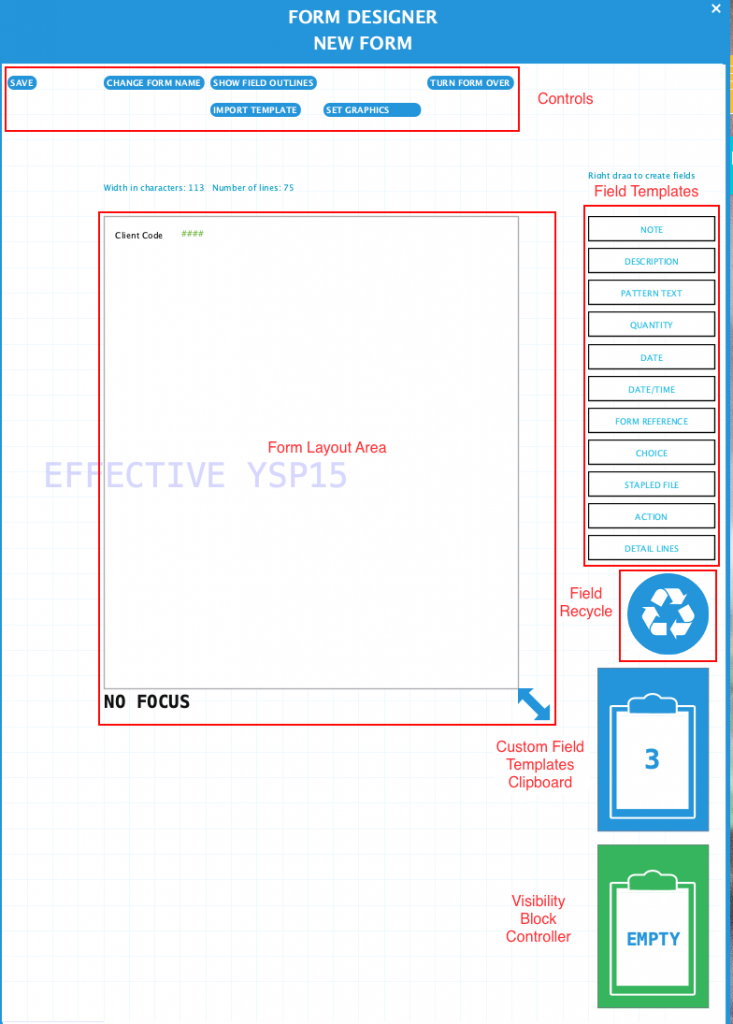
Front Side of New Blank Client Master Form
Section
Description
Controls
Buttons for saving form, flipping to back of form, showing tab sequence and other functions
Field Templates
Field templates can be dragged on to the form layout area to create a new field.
Field Recycle
Delete fields from a form by dragging to the field recycle. A recycle field used on previously filed data forms can not be truly deleted since it is part of the saved data. It can be hidden in the recycle to prevent its subsequent use on later filed data forms.
Form Layout Area
The surface area of the new master form. Layout data entry fields in this area. Resize using the double-head arrow at the bottom.
Custom Field Templates Clipboard
Clipboard holding your custom field templates for reuse through-out the system. Modify a field on a master form to the way you like, then save a copy of the field on the clipboard for reuse.
Visibility Block Controller
Shows visibility blocks in use on the form and allows them to be turned on/off to test the appearance and fit of the form elements.
Click the Change Form Name button to edit the form name. Existing master forms can be renamed. All references through-out the system will be updated with the new name.
Show Field Outlines
Click Show Field Outlines button to view the full extent of fields on the form. Text fields such as the description field part of a form reference field will be larger than the mask text. This is intentional to give a better idea of the size of the field for localized systems using multiple languages.
Master Form showing field outlines.
Set Tab Order
Click Set Tab Order button to view the tab sequence between fields on the form. Click again to hide.
Tab order is the sequence the cursor will move from field to field when you press the keyboard tab key or enter key. This is done to make data entry more efficient.
The default order will be the sequence in which fields were added to the form. So typically, this isn’t the best order and needs to be changed.
To re-sequence the tab order, click the Clear Tab Order button to the right of the form. This clears the current tab sequence. Click on the fields in the order desired.
Tab Order In Detail Lines
Rows within a detail block have their own tab order. Use the Detail Lines designer to set tab order between fields in a detail line. Usage Note: Tabbing cycles within a row. To move to the next/previous row use the appropriate keyboard shortcut or mouse.
Master Form showing tab sequence
Turn Form Over
Click Turn Form Over button to view the back side of the master form. This is where definitions and procedures are created.
Import Template
Click Import Template button to generate a template for importing data into this form. This generates a csv file (which can be opened with MS Excel) with the field definitions set up in the Formever import format. It just saves a bit of time setting up an import for this form and makes sure the field labels are spelled and formatted correctly.
Set Graphics
Click Set Graphics button to switch the designer to graphics mode. You can add graphic elements such as lines, rectangles, circles, set colors and set background images.