In Formever every quantity is an amount of something. This is true of businesses in general. They deal with quantities of weight, volume, area, linear measures etc.
Use the Quantity field on a master form for capturing numeric data with associated units. For example, Prices $123.45, weights 45kg, liquid measures 5gal, or just simple counts, 6dozen.
The Quantity field supports many different types of units. For example, Weight, Volume, Area, Length, Energy, Temperature.
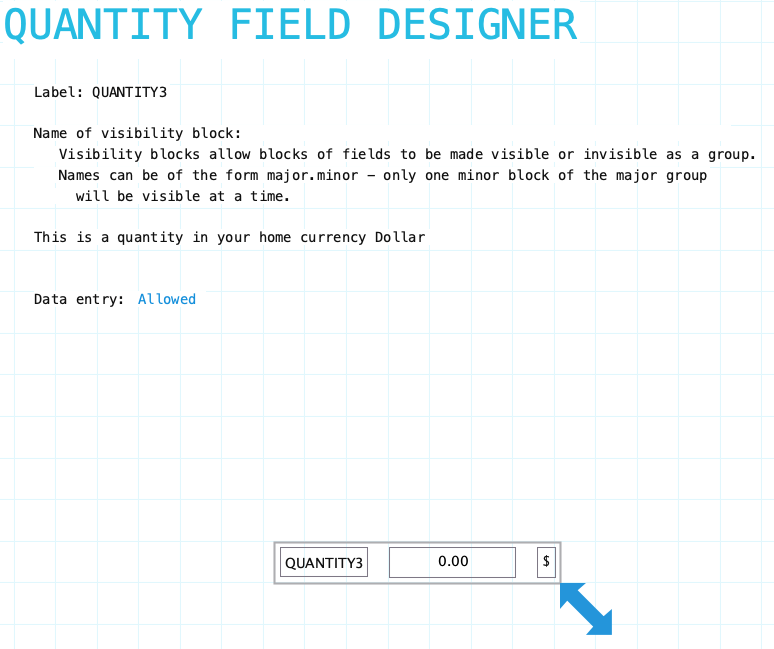
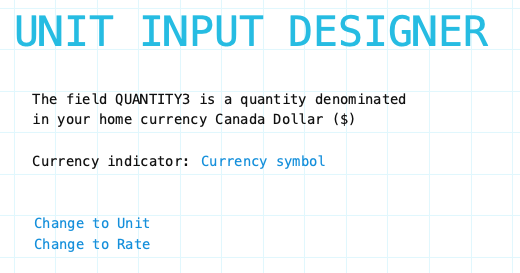
Quantity can also be a currency. For example $100USD, 40Euro. In multi-currency Formever systems alternative currency can be specified for a field so the currency can be selected at data entry time.
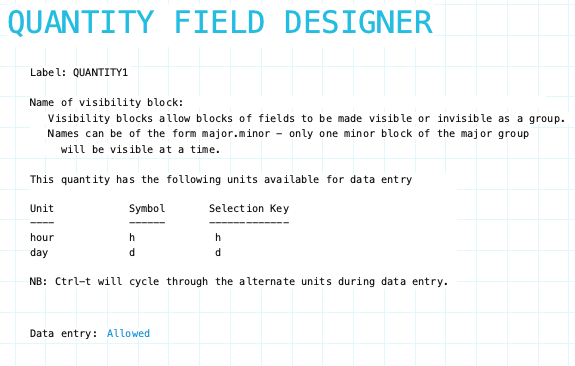
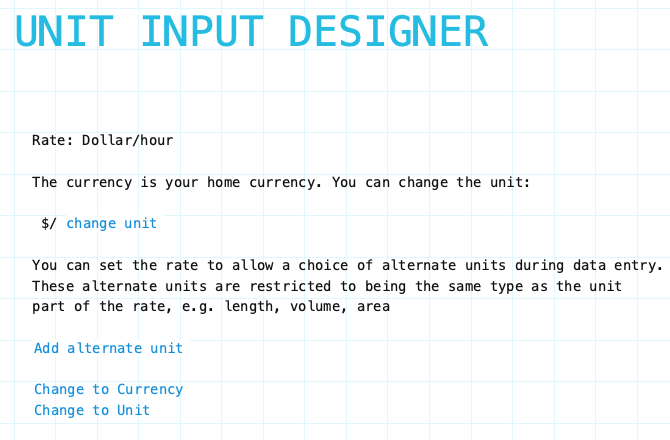
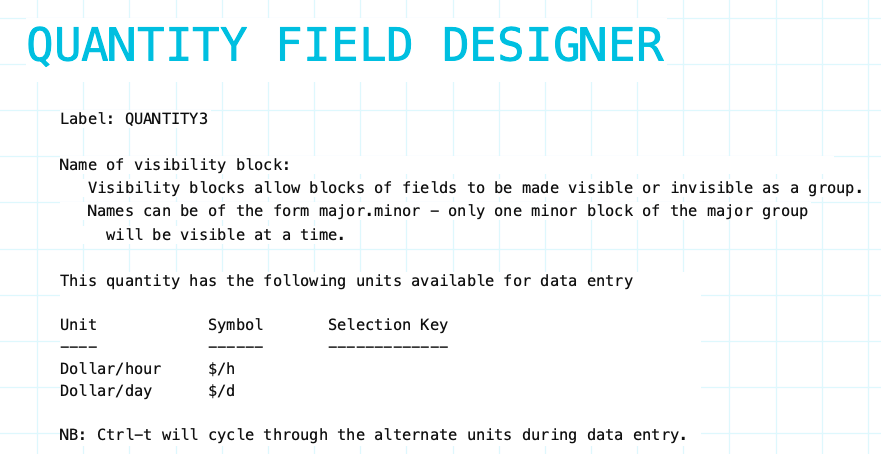
Quantity can be a rate. For example, $/hour, $/Gal, $/Yard. Rates are used, for example, to provide charge-out rates and material prices. Alternative rate units can be specified for a quantity field. At data entry time the appropriate rate can be chosen. For example, $/hour or $/day.
In multi-currency systems a quantity field can be an exchange rate. If a master form has an exchange rate quantity field then that ‘local’ exchange rate will be used when converting between the home currency and the exchange trading currency on that form. Without a ‘local’ exchange rate then the fiscal period exchange rate on the currency exchange form is used.
For more information about quantity, units, currency and exchange rates see Units of Measure
Configuration aspects:
- Data Entry
- Sizing
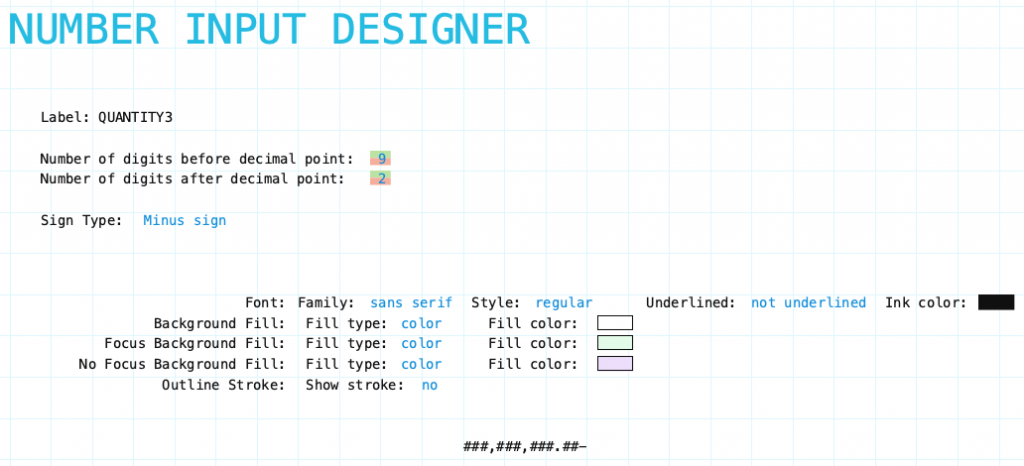
- Digits before decimal point
- Digits after decimal point
- Quantity type
- Currency
- Unit
- Rate
- Exchange Rate