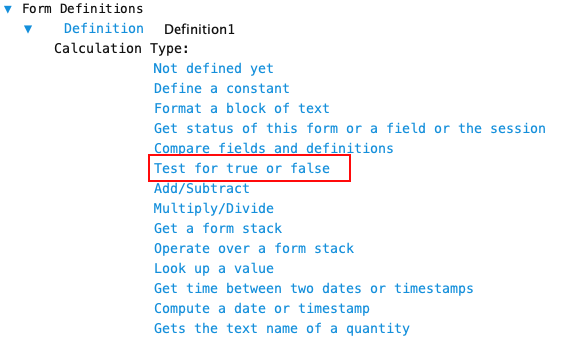
Use this calculation type on a master form to test if something is true or false. For example, was a cash float issued?
Only the following types can be tested:
- Definitions that produce a true or false result
- Choice field selections
You can test a single item or test a list of items.
Configuration
These are the basic steps to configure this calculation type. Formever will lead you through as you point and click.
- Label the definition
- Select the type of test
- Select the item to test

Step 1 - Label Definition
Give the definition a descriptive label. This doesn’t have to be done first. But make sure you provide a descriptive label before filing the master form. Since definitions are used throughout the system a descriptive label is recommended.
Doing it first serves as a reminder of what you are trying to accomplish as you configure the definition.
Design Tip:
Create a definition label in the form a yes/no or true/false question and use a "?". E.g. Credit Limit Exceeded?, Invoice Past Due?, Oversized? This indicates to a reader that the definition produces a logical result. Even though Formever will only offer logical definitions when appropriate the question style label reinforces this to a designer working on the system in the future.

Step 2 - Select type of Test
Begin by selecting the type of test you want to create. Change the type of test by clicking on the blue text to the right of the label ‘True if’. Each click will cycle through the different choices:
- The following are all true
- At least one of the following is true
- None of the following are true
- At least one of the following is false

Step 3 - Select the item to test
Select the field or definition to test. Click on the ‘Select a true/false item’ text and the field chooser will open.

The following image shows choices from a choice field named Client Request.


Adding/Deleting/Moving Test Items
The edit controls for test items are located to the far right of each test item.
Click the "plus-up/down arrow" edit control to add a new item test above or below the current item test.
Click the "up/down arrow" edit control to shift a item test up or down.
Click the "X" edit control to delete the item test. The first test item not be deleted if it is the only one in the list.
The following image shows a second test item has been started after clicking the "plus-down" edit control beside the first test item.


