Selection Lists are defined in director groups Open Office procedure. Each director group can have define its own set of selection lists. This ensures that a director only has access to the work that is relevant to their role as defined by their director group.
Selection lists are created two different ways:
When a new Master Form is added to the system a default selection list is automatically added to the executive director group and appears on your desktop. This selection list can be edited and altered if desired.
Editing a director group and adding a procedure step to the group’s Open Office Procedures.
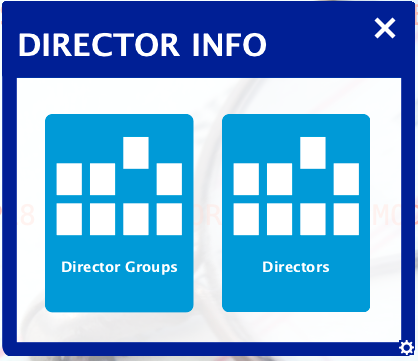
Start by opening the Director Groups folder. This is the default name assigned to the folder in new Formever systems. The executive director, however, may have renamed the folder to something else as shown in the image below.
Note: Only the Executive Director has permission to create and modify director groups.
Closed Director groups folder
Double click the folder to show the selections list icons in the folder. Then click the Director Groups icon to open.
Director groups folder after opening the folder
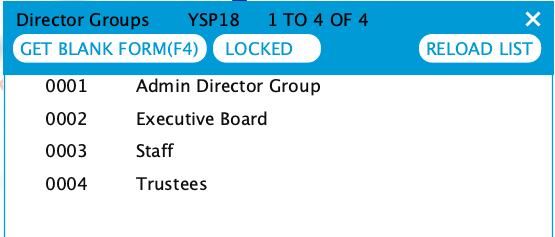
Director groups selection list open showing existing director groups
Open the desired director group by double clicking the row. In the image below the Staff director group has been opened. The 0003 is the unique code field id of the staff group.
Director group 3 opened after clicking selection in the director groups selection list
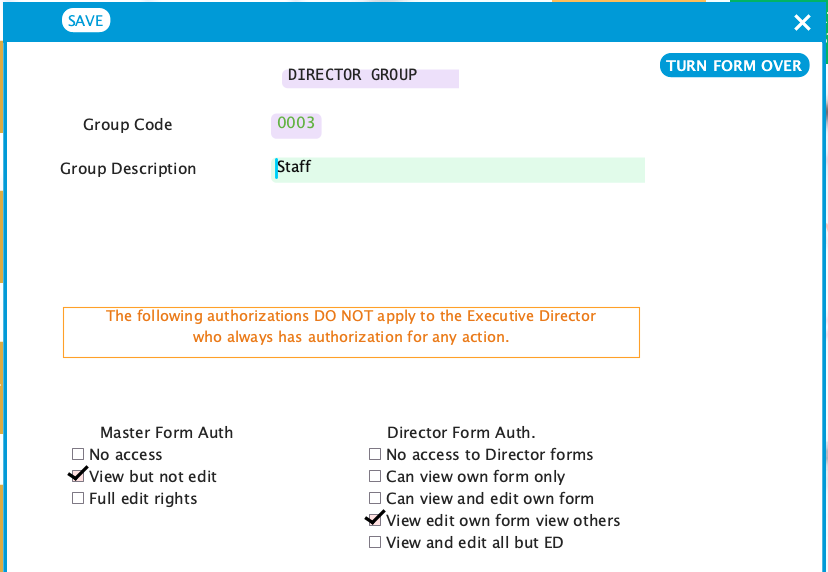
The selection lists for this director group are defined in the Open Office Procedures found on the back of the form. Click the Edit button and then the Turn Form Over button.
Open Director Group form ready for editing
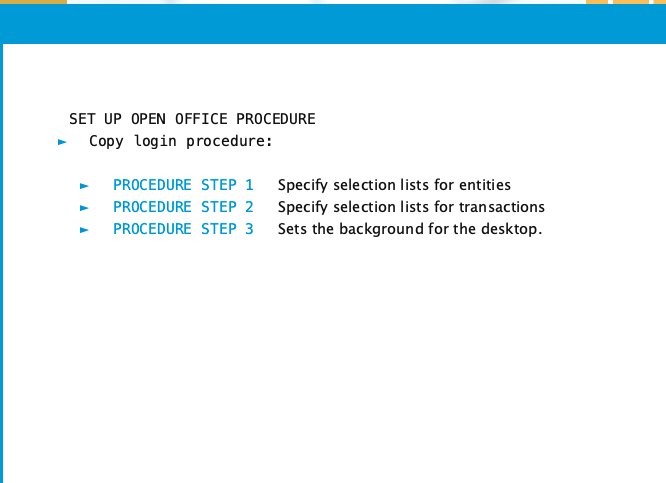
Director group form flipped to show the back side showing the open office procedures
Open Office Procedures are performed when a director logs into the system. All selection lists defined for that director’s group are made available and the desktop background is set.
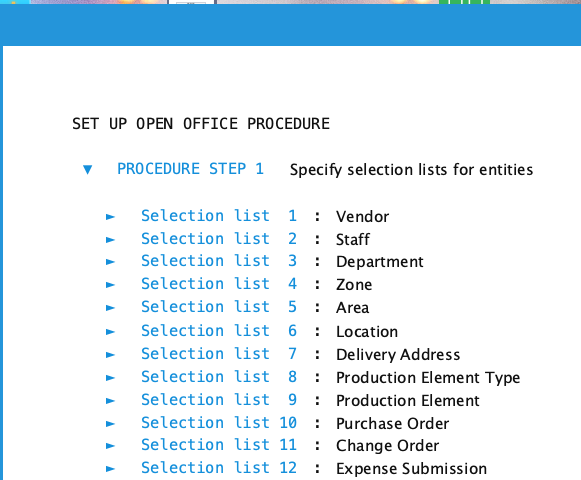
Depending on whether you are adding a selection list for an entity or transaction click the small triangle symbol on the left to expand the procedure step. This will show all the selection lists of that type. The image below shows the expanded procedure for entities.
Director group form flipped showing the selection lists for entities defined for the group
We will add new entity selection list following selection list 10 (Purchase Order). Click on the text "Selection list 10". You’ll see some small arrow symbols appear to the right of that row. These symbols allow you to move a row up or down the list and to insert a new row above or below the row or delete the row. Click the "down arrow plus" symbol to insert a new selection list below.
Location where new selection list will be added. Edit symbols showing to the far right.
Newly created selection list ready to be named
Enter a label for the new selection list or leave blank for now. But must name it before closing the director group. You can change this at any time.
New selection list after being named
The next step is to expand the selection list so the details can be entered. Click the small triangle symbol to the left. Once it is open the first step is to specify which form stack will be shown by this new selection list.
New Selection List opened showing Form Stack Chooser
Form stacks available for use in this selection list are categorized into two categories:
Form stacks defined on the Organization Form
Stacks of all forms for each type of master form in the system
Organization Stacks
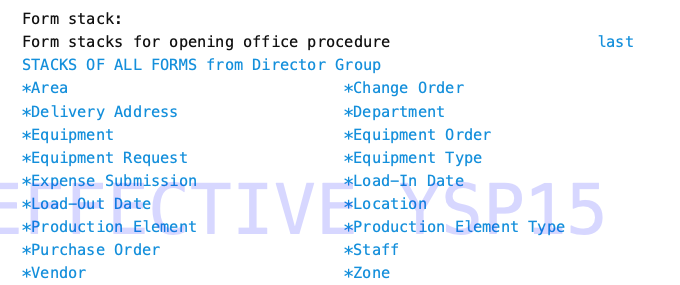
The Organization form contains definitions that only the organization level can define. This includes a number of form stacks. Clicking this category will show those form stacks
Stack Chooser Showing Form Stacks on the Organization Form
All Forms Stacks
The Stacks of All forms category shows system created form stacks for each master form in the systme. A stack of all forms is a stack that includes all data forms for a master form type. These "All Forms" stacks are indicated by the "*" preceding their name.
Form Stack Chooser showing All Forms Category
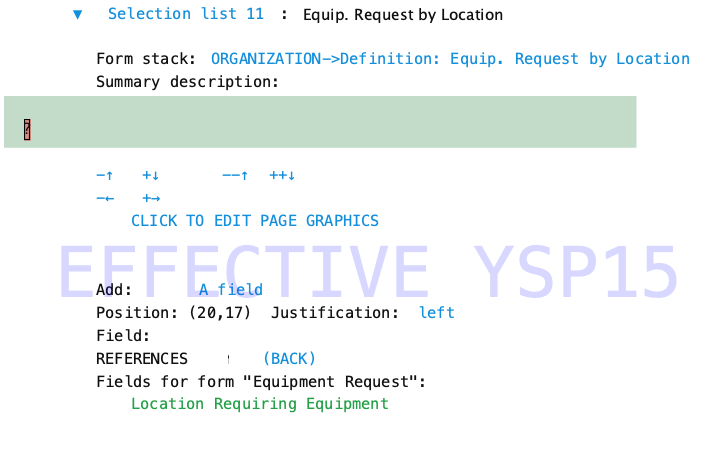
The image below shows that the Equipment Request by Location form stack was selected from the stacks on Organization form.
After Form Stack Selected
Selection List Summary Description
The image above shows the Summary Description text block (light green) in which a row in the selection list will be defined.
The summary description is created by placing fields in the text block using the field chooser. Click in the text block area where you want to place the first field. The field chooser will open. See Field Chooser for details on use.
New field placed in text block which automatically displays the field chooser
Completed summary description with two fields
Saving New Selection List
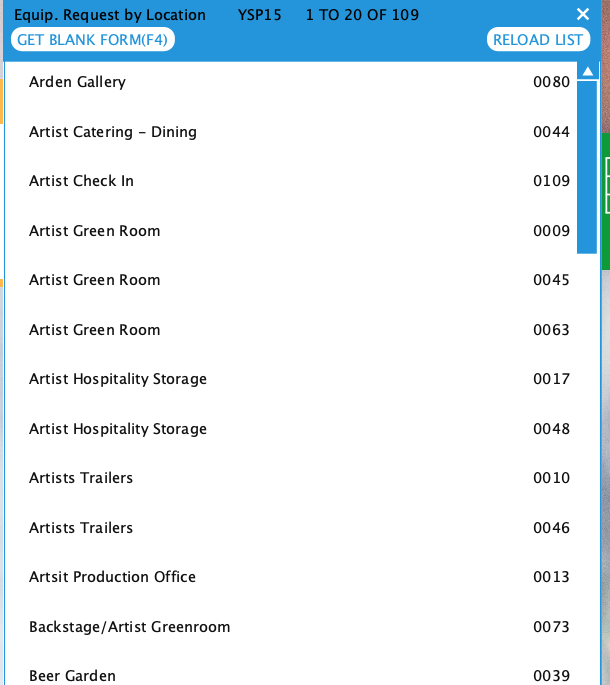
After completing the summary description text block it’s time to save your work. Flip the form over to the front side by clicking the Turn Form Over button in top right corner of the form. On the front side click the save button. The Director Group form will close and the new selection list will be visible on the desktop as shown below. Open the list to see the data forms in the selection list.
New Selection list on the desktop
New Selection List Opened show summary description for data forms